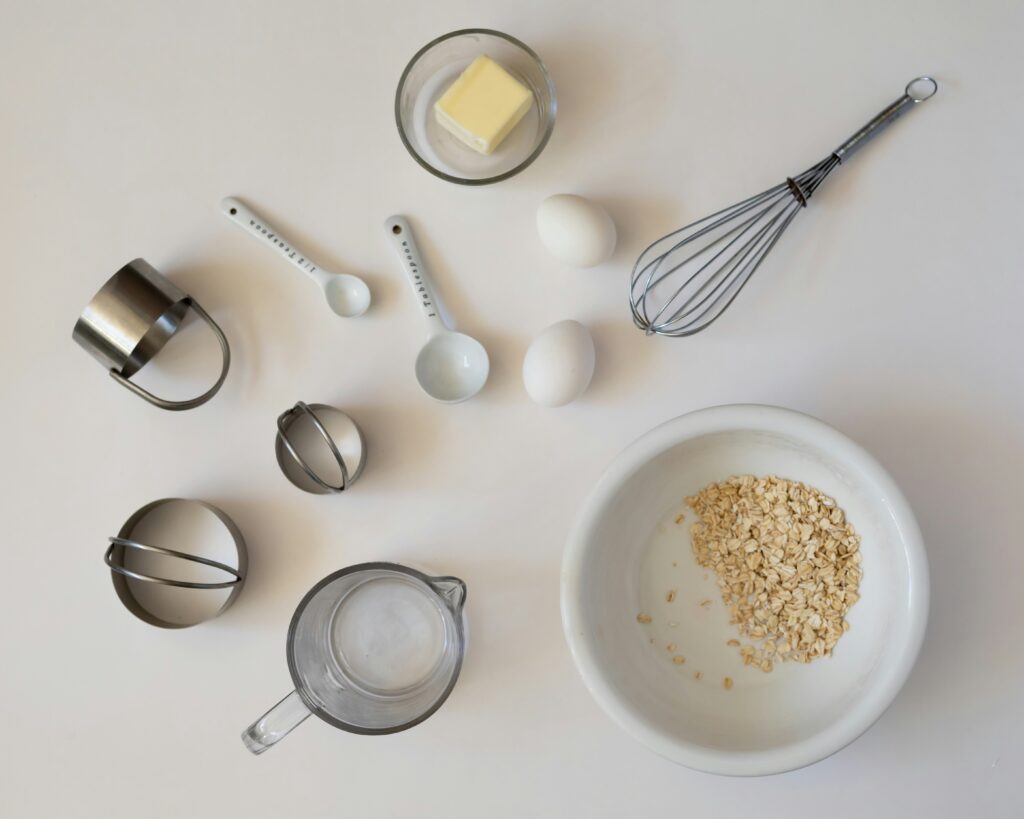
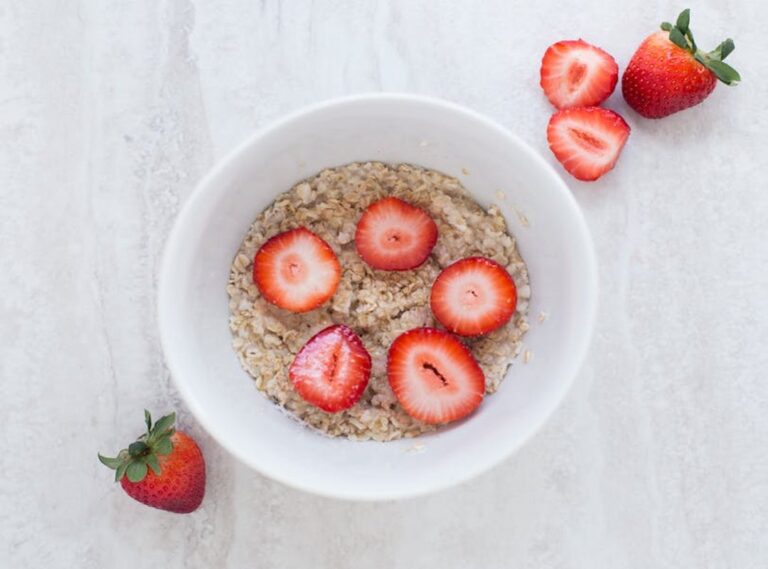
What You Need to Get Started
Before diving into molecular gastronomy, it helps to have a few essentials ready. You don’t need a professional kitchen just the right foundational tools and ingredients to start experimenting confidently at home.
Essential Gear for Beginners
Start small with a basic toolset that opens the door to a range of molecular gastronomy techniques:
Digital scale Precision is critical. A scale that measures to at least 0.1g is ideal.
Immersion blender Useful for mixing emulsifiers and dispersing powders evenly.
Whip siphon (iSi or similar) Required for creating foams, espumas, or carbonated fruits.
These tools are versatile, relatively affordable, and widely available online or in specialty kitchen stores.
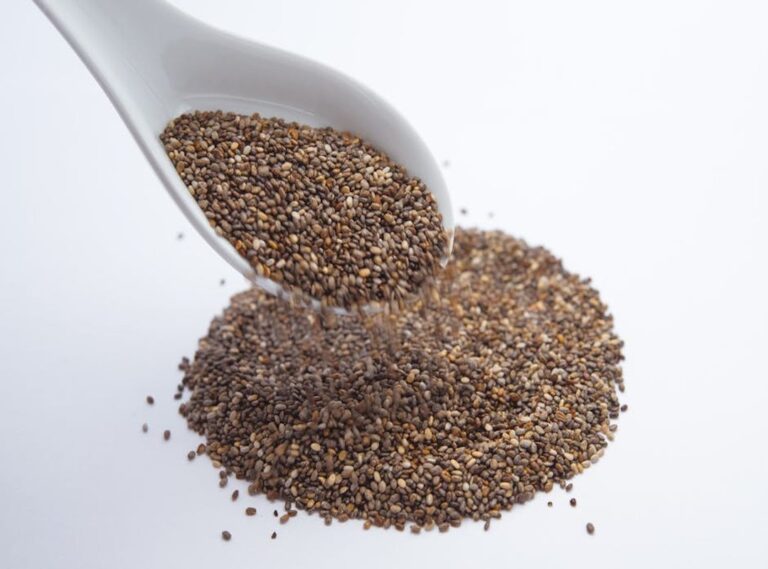
Intro Friendly Ingredients
There’s a world of molecular additives, but you only need a few to get started. Here are three beginner friendly staples:
Agar agar A plant based gelling agent, perfect for gelification and noodle like shapes.
Lecithin Used for making stable foams and airs. Soy lecithin is the most common.
Sodium alginate Key to spherification, especially when paired with a calcium bath.
These ingredients are safe and widely used in both professional and home kitchens.
Safe Sourcing Tips
When purchasing molecular ingredients, always ensure they are food grade and properly packaged. Here’s where to look:
Specialty cooking retailers (online and in store)
Reputable online stores like Modernist Pantry, Molecule R, or Amazon Kitchen & Dining
Local gourmet grocers (some carry small packs of agar agar or lecithin)
Check expiration dates and storage recommendations to maintain quality and safety.
Starting with the right gear and reliable ingredients sets the stage for successful experiments in molecular gastronomy all that’s left is your creativity.
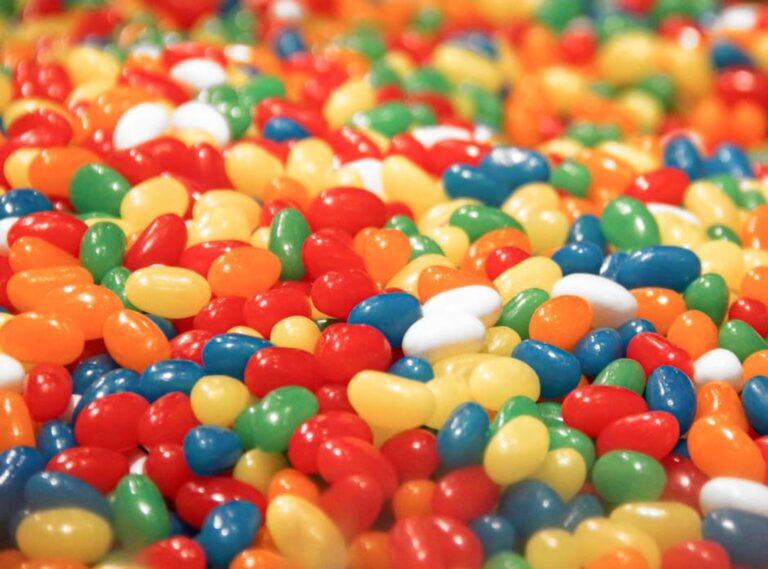
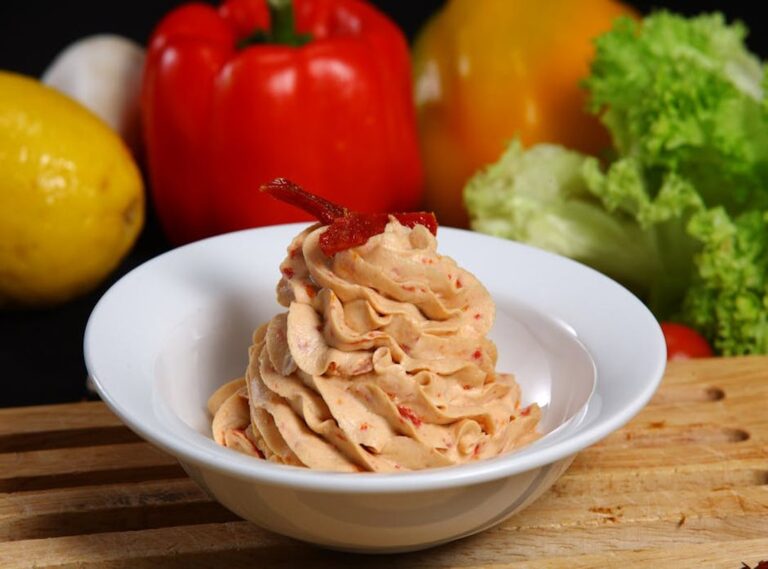
Technique 1: Spherification
This is the headliner technique in molecular gastronomy the one that makes people do a double take. Spherification is the process of turning flavored liquids into soft, round pearls that look like caviar but taste like whatever you put in. It’s sensory mischief: burst in your mouth flavor bombs.
There are two main methods: direct and reverse. Direct spherification works best for liquids with little to no calcium, like fruit juices or herbal infusions. You combine the liquid with sodium alginate, then drop it into a calcium bath. The outside gels instantly, while the inside stays fluid for a little while. Problem is, it keeps gelling over time, so these pearls need to be eaten fast.
Reverse spherification flips the setup. This is for calcium rich or thick liquids like yogurt or honey. You mix calcium lactate into the base, then drop it into an alginate bath. The outer layer forms the same way, but the inside stays liquid more reliably and stays that way. These pearls can sit a bit longer before serving. Taste, feel, and timing it’s all in the balance.
Starter recipes? Try honey spheres over warm biscuits or toast for a fun breakfast twist. Want savory? Basil pearls are a no fuss way to level up tomato pasta. You don’t need a restaurant kitchen just the right ingredients, some patience, and a steady hand.
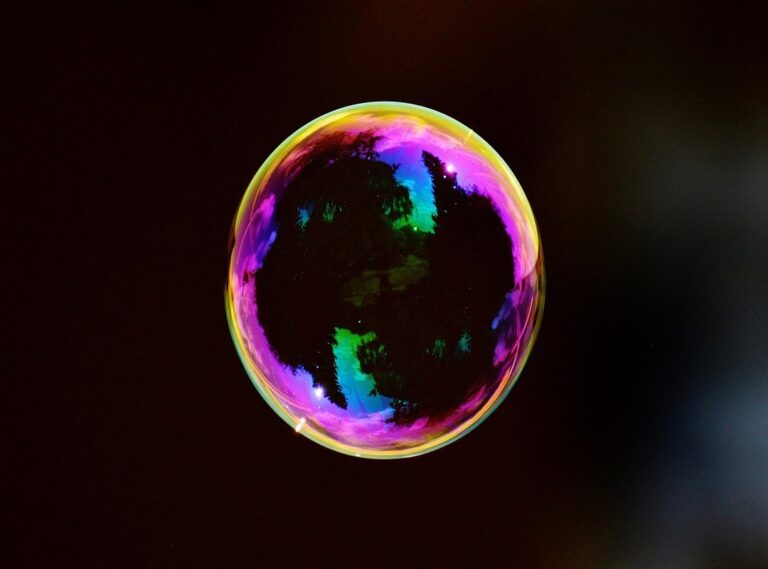
Technique 2: Foams & Airs
Foams are where molecular gastronomy starts to feel a little like magic and luckily, they don’t require a full lab to pull off. With either food grade soy lecithin or a whip siphon, you can turn ordinary liquids into delicate clouds that add texture and punch to your dishes.
Lecithin is the beginner’s ally. It’s a natural emulsifier that works best with low fat, flavorful liquids like citrus juice, teas, coffee, or broths. Simply blend it in (about 0.3% to 0.6% of the liquid’s weight), hit it with an immersion blender, and let the foam rise. Scoop the top layer right onto your plate.
For more stable and creamier foams, a siphon charged with N2O is your weapon of choice. It works well with thicker bases think beetroot purée, tomato water, or even passionfruit and coconut milk blends. Heat stable foams for warm dishes are possible too, as long as your base is more viscous.
Flavor pairings are key. Sweet foams like vanilla chai air can top a scoop of dark chocolate mousse. On the savory side, mushroom foam works beautifully over grilled steak, and a cucumber yogurt air brings freshness to spicy falafel. Just stay tight with your ingredients thin, bold flavored liquids work best, and the foam should enhance, not overpower.
Once you get the hang of it, a perfect foam is an easy way to add refinement without overcomplication. Plus, it impresses people. Every time.
Technique 3: Gelification

Turning liquids into solids sounds clinical, but with the right touch, it’s art. Gelification is all about control of texture, of shape, of bite. Two names run the show here: agar agar and gellan gum. Both are plant based gelling agents that blow gelatin out of the water when it comes to stability, especially under heat.
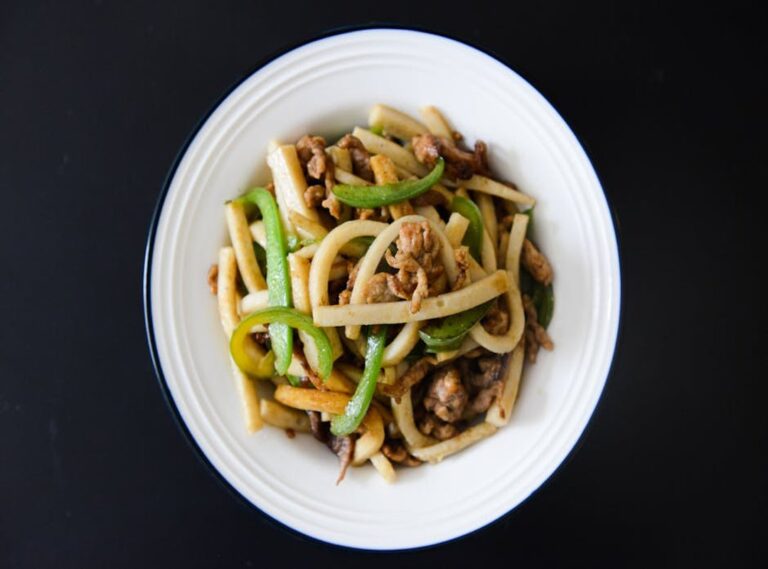
Agar agar sets fast and firm, making it great for cocktail jellies, layered desserts, or slicing up sheets of something unexpected like tomato water into a savory garnish. It’s also thermoreversible, meaning it can be melted and reset multiple times. Gellan gum, on the other hand, gives more elasticity and can create flexible noodle gels that hold up in warm broths without turning to mush.
Creative uses? Think gin and tonic cubes that burst on your tongue, or clear onion noodles sliding through a beef consommé. This is where molecular techniques make the leap from gimmick to dish.
Avoiding rubbery disasters means nailing your ratios. Too much agar and you’ve got erasers. Too little and it never sets. Start with 0.7% to 1% of agar by weight of the liquid. For gellan especially the low acyl type a much smaller dose (think 0.2% to 0.6%) goes a long way. Heat evenly, mix thoroughly, and pour fast. Once it sets, it doesn’t like to be messed with.
Like all good experiments, precision matters. But when you get it right, it feels like playing with food science because you are.
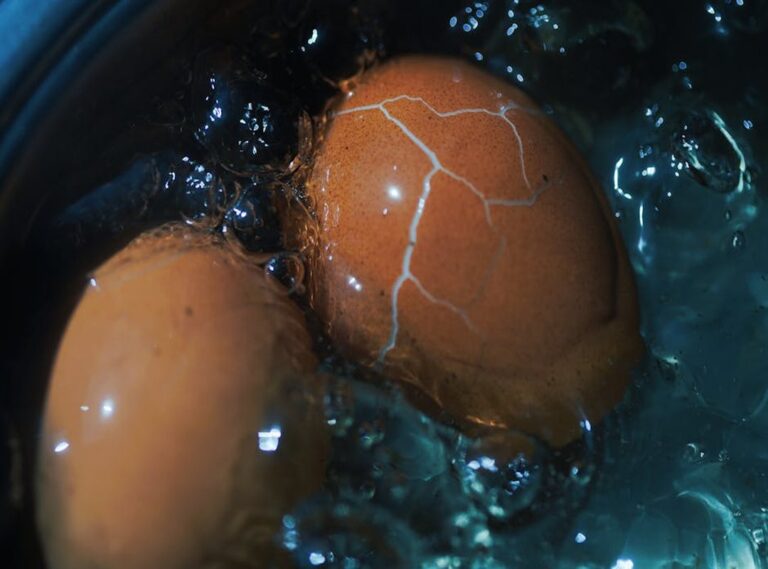
Technique 4: Sous Vide for Precision Cooking
Sous vide a French term meaning “under vacuum” has become a go to technique for chefs and home cooks aiming for perfectly cooked food with minimal guesswork. Using precisely controlled low temperatures, sous vide brings out textures and flavors that can be hard to achieve with traditional methods.
Why Temperature Matters
Cooking at lower temperatures allows for more control over doneness and texture, especially for proteins. Instead of relying on timers and high heat, sous vide ensures even heat distribution across the entire ingredient.
Eggs come out with custard like yolks or jammy textures no boiling required.
Salmon stays buttery and flaky, never chalky or dry.
Steak reaches your preferred doneness edge to edge rare, medium, or well done with a quick sear to finish.
Basic At Home Setup
You don’t need restaurant level equipment to get started with sous vide. Here’s what you need:
Sous vide wand or immersion circulator: Compact and easy to use with any deep pot.
Heat safe bags: Vacuum sealed or quality freezer bags with the water displacement method.
Digital thermometer (optional): For double checking food safety, especially early on.
Steps to get cooking:
- Fill a deep pot or container with water.
- Attach the sous vide wand and set your target temperature.
- Seal your ingredient in a bag and submerge once the water is ready.
- Cook for the recommended time, then sear or serve.
Ideal Beginner Dishes
Start with forgiving ingredients and build your repertoire from there:
Soft boiled eggs: 63°C (145°F) for 45 minutes silky whites and rich yolks.
Salmon fillet: 50°C (122°F) for 30 45 minutes tender and moist.
New York strip steak: 54.5°C (130°F) for 1 2 hours perfectly pink through the center.
Sous vide is more than a trend it’s a precision method that delivers gourmet level results without stress. Once you’ve tried it, it’s hard to go back.
Technique 5: Liquid Nitrogen (for the Bold)
Let’s get one thing straight: liquid nitrogen is not your average kitchen tool. It’s 320°F cold and boils on contact with air. Use gloves. Use goggles. Use a stainless steel bowl, never glass or cheap plastic. And absolutely never seal it in a container. The pressure build up can turn your kitchen into a crime scene. Ventilation is a must this stuff displaces oxygen quickly in closed spaces.
All that said, the payoff is pure show. Liquid nitrogen can flash freeze anything in seconds. Think smooth ice cream made tableside, or meringues that shatter in your mouth with a puff of vapor. It’s not just about impressing guests, though that’s a good bonus.
Pro chefs use nitrogen for more than spectacle. Quick freezing preserves texture and locks in flavor. It’s used to grind herbs into powder, set delicate garnishes, and suspend action in mid process like stopping fat from melting while you work it. Real technique, not just drama.
Handled with care and precision, liquid nitrogen can take your dessert game to another planet. Just read the safety label twice and maybe don’t try it while distracted.
Bringing It to the Plate
You’ve nailed the science beads of mango, foams that hold, steak cooked edge to edge. But if it hits the plate like leftovers, the magic dies fast. Style isn’t optional in molecular gastronomy. Presentation is half the pitch.
Start with restraint. White plates, clean lines, contrast. Let the colors pop and the textures show. Use tweezers if you have to. Negative space is your friend. Intentionality trumps clutter.
Design your plate like a story: where does the eye go first? Where does it end? One trick stack or layer elements to create depth. Another use shapes and repetition to echo the science behind the dish. Want more? These artful plating tips break it down with examples from pros who live by the mantra: science on the plate, not in your face.
This kind of cooking asks for context. A smoked bubble or cracked sphere means nothing without a visual cue or aesthetic tension. You’re not just feeding curiosity. You’re serving a moment.
Where to Go From Here
You don’t need a culinary degree to start exploring the science of cooking. A few smart resources can give you the basics without overwhelming you. For cookbooks, start with “Molecular Gastronomy at Home” by Jozef Youssef or “The Flavor Matrix” by James Briscione. They blend technique with practical applications. On YouTube, channels like “Sous Vide Everything,” “ChefSteps,” and “The Modernist Pantry” break down complex looking ideas into stuff you can actually pull off in your kitchen.
Confidence in molecular gastronomy comes the same way it does in regular cooking: repetition with a little risk. Don’t overthink it. Try one new technique per week even if it’s just turning juice into caviar sized pearls. The early wins build momentum. Write down what worked and what flopped. It’s not about chasing perfection, it’s about learning with your hands.
And don’t do it all solo. This food isn’t just for impressing yourself. Invite friends over to taste, ask questions, and maybe join in. Molecular techniques are conversation magnets. When you explain why that foam tastes like parmesan or how you cooked a steak in a bag of water, you’re not just serving dinner. You’re sharing the why. That curiosity is what makes this whole thing more than a science experiment it turns it into a story worth telling.


 Jennifera is passionate about sharing culinary stories that blend tradition with innovation. At FoodHypeSaga she creates engaging articles that inspire readers to discover new dining experiences and food movements.