Achieve the Perfect Crisp: A Guide to Flawless Frying
The Scope: This guide demystifies the art of frying, transforming it from an intimidating task into a reliable kitchen skill.
The Problem: Many home cooks struggle with greasy results, dangerous oil splatters, and inconsistent textures. This article solves that.
Search Intent Alignment: We will provide a complete roadmap covering everything from oil selection and temperature control to safe practices and step-by-step techniques.
Core Promise: By the end of this guide, you will have the confidence and knowledge to produce perfectly golden, crispy, and delicious fried foods safely in your own kitchen.
Does frying seem like a daunting task? You’re not alone. I’ve been there too. But with the right tips and techniques, you can master it. Let’s dive in.
First, let’s talk about Frying Infoguide Fhthrecipe. This is your go-to resource for all things frying. It covers everything from choosing the right oil to maintaining the perfect temperature.
Why is oil selection so important? The type of oil you use can make or break your dish. Some oils can handle high heat better than others. For example, peanut oil is great for deep-frying because it has a high smoke point. Canola oil works well too.
Temperature control is key. If the oil is too hot, your food will burn on the outside and be raw on the inside. If it’s not hot enough, your food will soak up too much oil and turn out greasy. Aim for around 350°F (175°C) for most frying tasks.
Safety first. Hot oil can be dangerous. Always use a deep fryer or a heavy pot with tall sides. Keep a lid nearby to smother any small fires. And never leave the stove unattended.
Now, let’s get into the techniques. Pat your food dry before frying. Excess moisture can cause oil to splatter. Use a thermometer to check the oil temperature. And don’t overcrowd the pan. Fry in batches if needed.
By following these steps, you’ll be on your way to creating perfectly crispy and delicious fried foods. Ready to give it a try?
The Foundation of Safe Frying: Essential Kitchen Rules
When it comes to frying, choosing the right vessel is key. A deep, heavy-bottomed pot or Dutch oven helps regulate heat and prevent splatters. These pots distribute heat evenly, reducing the risk of hot spots that can burn your food.
Now, let’s talk about the halfway rule. Never fill your pot more than halfway with oil. This prevents dangerous overflows when you add food. It’s a simple step that can save you from a messy and potentially hazardous situation.
Water is the enemy in frying. Even small amounts can cause violent splattering. Make sure to pat your food completely dry before adding it to the oil. This keeps the oil from spitting and makes your frying experience safer and cleaner.
In case of a grease fire, stay calm. Cover the pot with a metal lid and turn off the heat. Never use water; it can make the fire worse. Knowing this emergency procedure can keep a small mishap from turning into a big problem.
For more detailed tips and techniques, check out the Frying Infoguide on fhthrecipe. It’s a great resource for anyone looking to master the art of frying safely and effectively.
The Science of the Sizzle: Oil Choice and Temperature Control
When it comes to frying, picking the right oil is key. Peanut, canola, vegetable, and avocado oils are great for frying because they have high smoke points. These oils can handle the heat without breaking down or producing harmful compounds. On the other hand, extra virgin olive oil and butter are not ideal for frying. They have low smoke points and can burn easily, giving your food an off taste.
Why is temperature so important? The correct oil temperature, typically between 350-375°F (175-190°C), instantly cooks the exterior of the food. This creates a barrier that prevents the food from absorbing too much oil, keeping it crispy on the outside and perfectly cooked on the inside.
To get the right temperature, use a deep-fry or candy thermometer. If you don’t have one, try the wooden spoon handle test. Dip the handle into the oil; if it bubbles around the wood, the oil is ready.
Overcrowding the pan is a common mistake. It causes the oil temperature to drop, leading to soggy, oil-logged food. Fry in batches to keep the oil at the right temperature and ensure each piece gets crispy.
For more detailed tips and techniques, check out the frying infoguide fhthrecipe.
Mastering the Methods: From Shallow-Frying to Deep-Frying
When it comes to frying, choosing the right method can make or break your dish. Let’s break down the key methods and when to use them.
Pan-Frying: This is ideal for thinner cuts like fish fillets or chicken cutlets. You only need a small amount of fat to create a crisp crust. It’s a great way to get that perfect golden-brown finish without using too much oil. For example, pan-frying a salmon fillet in a bit of olive oil can give you a delicious, crispy skin.
Shallow-Frying: Best for items like crab cakes or fritters. The oil comes about halfway up the sides of the food, requiring a flip to cook both sides. This method ensures that the food gets evenly cooked and crispy on the outside. Think of a perfectly fried crab cake with a crunchy exterior and a tender, flavorful interior.
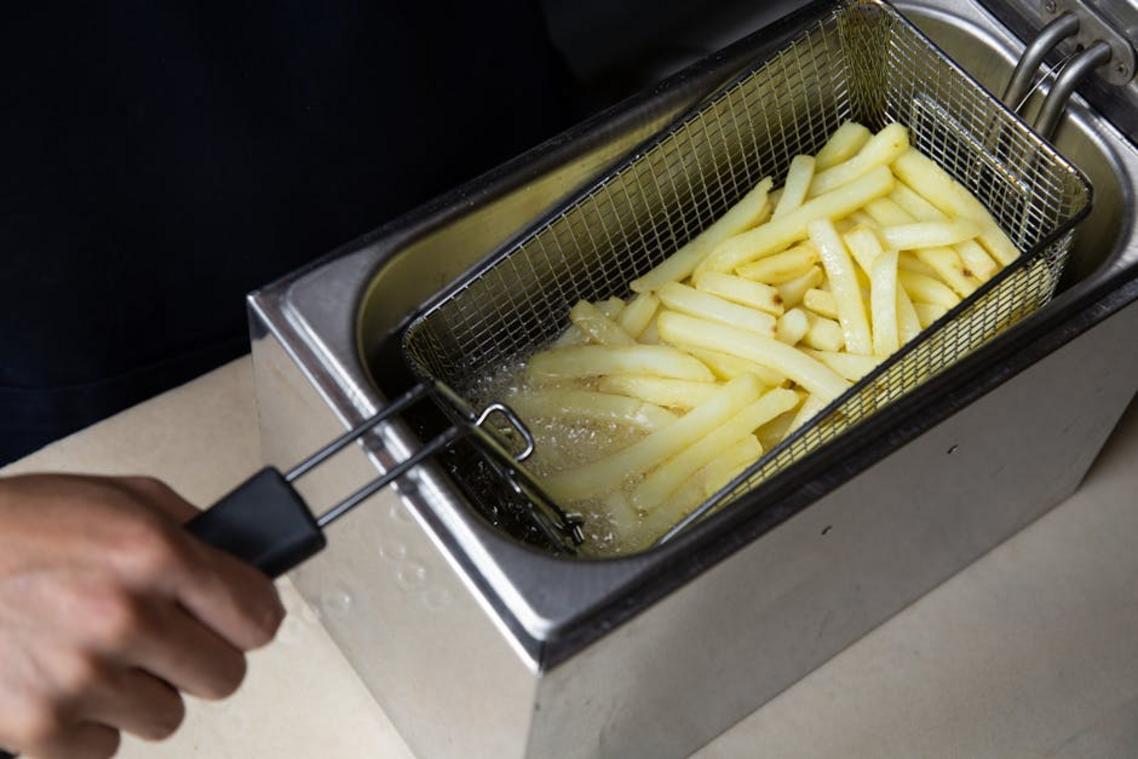
Deep-Frying: The classic method where food is fully submerged in hot oil. This is essential for achieving an even, all-over crisp on items like french fries, doughnuts, or fried chicken. Deep-frying at the right temperature (usually around 350°F) ensures that the food cooks through while maintaining a crispy outer layer. A well-made batch of french fries, for instance, should be golden and crispy on the outside and fluffy on the inside.
Understanding these methods can help you achieve the best results in your kitchen. Whether you’re making a quick weeknight dinner or preparing for a special occasion, knowing when to use each method can elevate your cooking.
Frying Infoguide Fhthrecipe
By mastering these techniques, you’ll be able to tackle a wide range of recipes with confidence.
Putting it all Together: Step-by-Step Crispy Fried Chicken Tenders
Let’s dive into the three-step breading station for those perfect, crispy chicken tenders.
The Three-Step Breading Station:
- Dredge in Seasoned Flour: Start by coating your chicken tenders in a mix of flour and your favorite seasonings. This creates a dry base that helps the egg wash stick.
- Dip in Egg Wash: Next, dip the floured tenders into a beaten egg. The egg acts as a glue, helping the breadcrumbs adhere to the chicken.
- Coat in Panko or Breadcrumbs: Finally, coat the tenders in panko or breadcrumbs. This is where you get that CRUNCH. Make sure the coating is even and covers the entire surface.
Frying Instructions:
- Preheat Oil: Heat your oil to 350°F (175°C). Use a deep fryer or a heavy-bottomed pot.
- Carefully Place Tenders: Gently place the breaded tenders in the hot oil. Don’t overcrowd the pot; cook in batches if needed.
- Cook for Specific Time: Fry for about 4-5 minutes per side, or until they’re golden-brown and crispy.
- Check for Doneness: Use a meat thermometer to ensure the internal temperature reaches 165°F (74°C).
The Crucial Final Step:
Once the tenders are done, transfer them immediately to a wire rack. This allows air to circulate around the tenders, keeping them crispy. Avoid using paper towels, as they can make the tenders soggy. Sprinkle with salt while they’re still hot for extra flavor.
By following these steps, you’ll end up with perfectly crispy and delicious chicken tenders. No more soggy, disappointing results. Plus, you can save on your kitchen budget with our kitchen budget fhthrecipe. Enjoy your meal!
Your Journey to Frying Excellence
You now possess the core principles of safe and effective frying, from managing your equipment to mastering temperature. The fear of greasy, unevenly cooked food is a thing of the past when you apply these foundational techniques. By prioritizing safety and understanding the science of heat and oil, you can replicate restaurant-quality results.
 Jennifera is passionate about sharing culinary stories that blend tradition with innovation. At FoodHypeSaga she creates engaging articles that inspire readers to discover new dining experiences and food movements.