If you’re a fan of My Melody and Toca Boca, you know how hard it can be to find creative and affordable ways to bring these characters to life. It’s frustrating, right?
This guide is here to help. I’ve put together a step-by-step tutorial for creating a toca boca paper doll house casa de my melody para imprimir. It’s not just any dollhouse; it’s a charming, detailed, and customizable one that captures the whimsical world of Toca Boca.
I’ve made sure this guide is easy to follow, with clear instructions and tips. You don’t need to be a crafting expert to make something beautiful.
Trust me, I get it. I’m a real person who loves these characters too. I’ve spent a lot of time making sure this guide is top-notch.
So, let’s dive in and create something magical.
Materials and Tools You’ll Need
Let’s get straight to the essentials. You’ll need some basic supplies like cardstock, scissors, glue, and markers. Simple, right?
CAPS: These are your building blocks, and don’t skimp on quality here.
Printing Tips: Choose the right paper and printer settings. It can make or break your project. Go for a heavier cardstock if you want something more durable.
Set your printer to high quality for the best results.
Additional Decor: Add some flair with stickers, fabric, and small trinkets. These little touches can really bring your project to life.
If you’re working on something specific, like a toca boca paper doll house casa de my melody para imprimir, these tips will help you get the job done right.
Pro Tip: Always test print a small section first to make sure everything looks good before going all in.
Designing Your Dollhouse: Inspiration from Toca Boca
Designing a dollhouse can be a fun and creative project, but it can also feel overwhelming. Where do you start? What if it doesn’t turn out the way you imagined?
Toca Boca Aesthetic
Toca Boca’s games are known for their vibrant and playful design. The key elements include bold, bright colors and simple, clean lines. Think pastel pinks, blues, and yellows.
These colors make the spaces feel welcoming and cheerful.
Incorporating this aesthetic into your dollhouse means using these color schemes. Paint the walls in soft, inviting hues, and add furniture with simple, modern designs.
It’s all about creating a space that feels both fun and cozy.
My Melody Integration
Now, let’s talk about My Melody. This adorable character brings a sweet and charming vibe to any design. You can blend her style into your dollhouse by adding little touches like polka dots, floral patterns, and of course, lots of pink.
Think about creating a room dedicated to My Melody. Use wallpaper with tiny flowers or polka dots. Add a small bed with a pink canopy.
Little details like these can make a big difference.
Customization Ideas
One of the best parts of designing a dollhouse is making it your own. Why not add themed rooms? How about a mini kitchen with tiny appliances or a cozy reading nook with a tiny bookshelf?
You can also get creative with unique decorations. Maybe a tiny art gallery with miniature paintings or a garden with little plants and flowers. The possibilities are endless.
Sometimes, finding the right materials can be a challenge. But don’t stress, and you can find inspiration and resources online.
For example, toca boca paper doll house casa de my melody para imprimir can be a great starting point for printable designs and ideas.
Remember, the goal is to have fun and create something that makes you happy. So, go ahead and let your imagination run wild!
Step-by-Step Assembly Instructions
Let’s start with the base. You’ll need to cut and assemble the base of the dollhouse. Follow the measurements carefully, and make sure everything is square.
Base Structure
Use a sturdy material like plywood or MDF. Cut it to the dimensions provided in your instructions. If you’re using toca boca paper doll house casa de my melody para imprimir, make sure the base fits the printed design perfectly.
Walls and Floors
Next, attach the walls and floors. Use wood glue and nails for extra stability. Make sure the walls are aligned and the floors are level.
A small level can be really helpful here.
Pro tip: Double-check your measurements before gluing. It’s easier to fix a mistake before the glue dries.
Roof and Chimney
Now, add the roof. Depending on your design, you might use shingles or just a simple flat roof. For a chimney, cut a small rectangular piece and attach it to the roof.
If you want to add a balcony, cut out a small platform and secure it to the side of the dollhouse. This adds a nice touch and some extra play space.
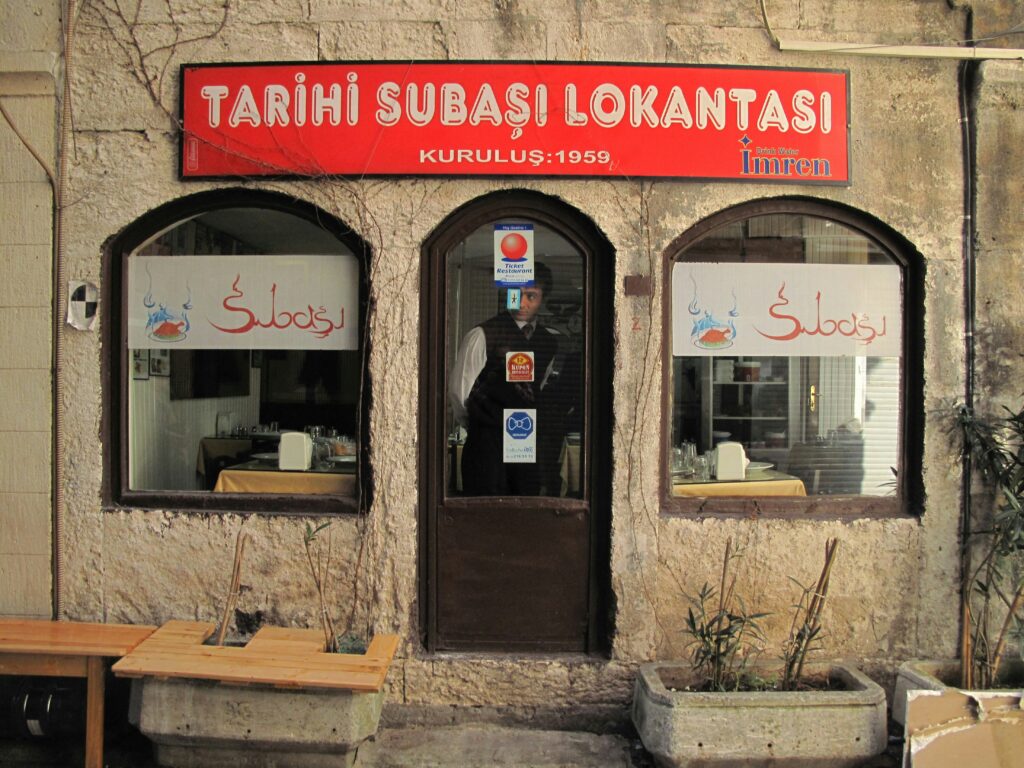
Remember, the key to a successful dollhouse build is attention to detail. Take your time, and don’t rush the process. If you’re looking for more creative ideas, you can read more about themed restaurants unique dining experiences.
Decorating Your Dollhouse
Decorating your dollhouse can be a fun and creative way to bring it to life. Let’s dive into how you can make each room special.
Room-by-Room Guide
Start with the living room , and think about a cozy, inviting theme. Add a tiny sofa, a little coffee table, and some miniature books.
It makes the space feel warm and welcoming.
The bedroom is all about comfort. A small bed, a nightstand, and maybe a tiny dresser. Choose soft, calming colors.
This helps create a relaxing atmosphere.
In the kitchen, go for a functional yet charming look. Place a mini stove, a fridge, and a small table with chairs. Adding tiny utensils and dishes can make it feel real.
Furniture and Accessories
Creating and placing furniture is easier than you think. Use templates to cut out pieces from cardboard or foam. Assemble them with glue or tape.
It’s a great way to get creative and save money.
For accessories, think small. Tiny vases, picture frames, and even a little rug. These details add character and make each room unique.
Adding Characters
Including My Melody and her friends along with other Toca Boca characters can make your dollhouse even more fun. Print out toca boca paper doll house casa de my melody para imprimir and cut them out. Place them in different rooms to tell a story.
Seeing your favorite characters in the dollhouse brings it to life. It’s like they’re part of your own little world.
Decorating your dollhouse is not just about making it pretty. It’s about creating a space that sparks joy and imagination. So, have fun and let your creativity flow!
Final Touches and Display
Adding those final details can really make your dollhouse pop. Windows, doors, and decorative elements bring it to life.
I love using tiny curtains and little welcome mats. They add a homey feel.
When it comes to display, think about where it’ll get the most attention. A living room shelf or a dedicated corner in a child’s bedroom works well.
Lighting is key. Soft, warm lights can create a cozy atmosphere. Backgrounds matter too.
A simple, neutral backdrop lets the dollhouse be the star.
Consider using toca boca paper doll house casa de my melody para imprimir for some fun, printable accessories. It’s a great way to add more personality without breaking the bank.
Pro tip: Rotate the dollhouse every few months. It keeps things fresh and gives you a chance to redecorate!
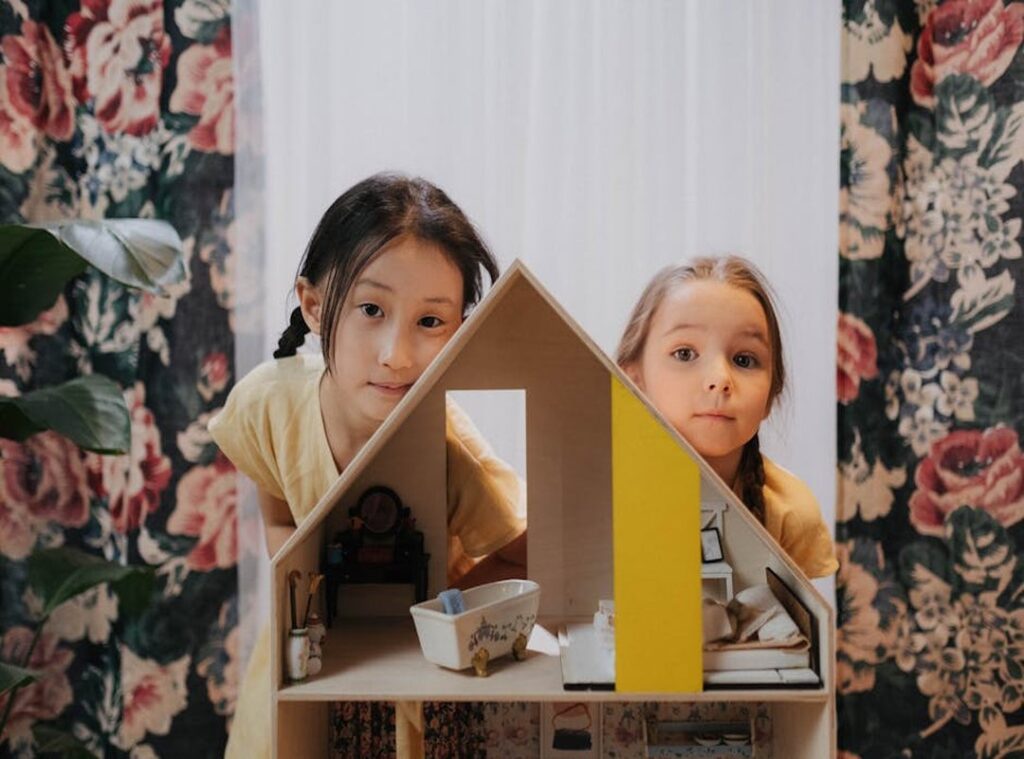
Bringing Your My Melody Dollhouse to Life
Start by gathering all the materials you need, including toca boca paper doll house casa de my melody para imprimir. Choose a sturdy base for your dollhouse and begin assembling the printed pieces. Add personal touches with colorful decorations and small furniture.
Consider using glitter, stickers, or even fabric scraps to make each room unique. The key is to let your creativity flow. Following this guide will result in a beautiful, personalized, and fun project.
Share your creations with friends and family. Enjoy the process of bringing your imagination to life.
 Charles brings his sharp eye for detail and love of global cuisine to FoodHypeSaga. His writing dives into food culture, exploring fresh trends and unique flavors with a modern perspective.